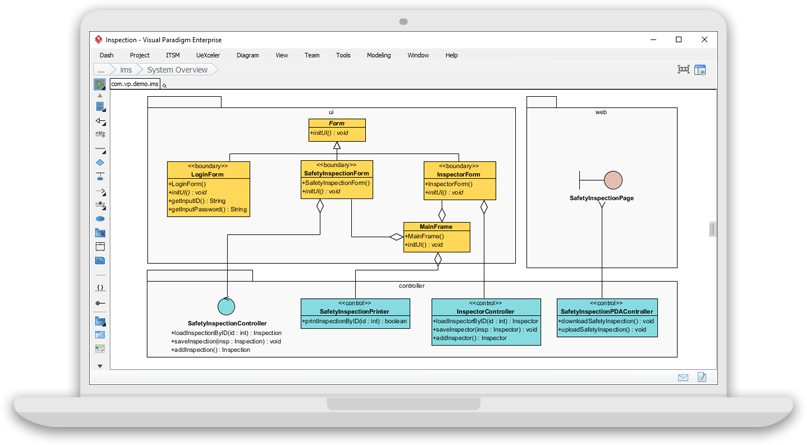
Introduction
Unified Modeling Language (UML) is a standardized modeling language that provides a way to visualize the design of software systems, making it easier to understand and communicate complex concepts. UML tools are essential for developers and software engineers to create and maintain software systems effectively. In this tutorial, we will explore Visual Paradigm, an easy-to-use, comprehensive UML modeling solution.

Getting Started
- Download and Install Visual Paradigm: Download Visual Paradigm from the official website here and install it on your computer.
- Launch Visual Paradigm: Launch Visual Paradigm and choose “Start with a blank project” to create a new project.
Understanding UML Diagrams
Visual Paradigm offers a wide range of UML diagrams, including:
- Class Diagrams: Used for static modeling, showing the system’s structure in terms of classes, interfaces, and their relationships.
- Use Case Diagrams: Used for functional modeling, showing the functionality of the system from the user’s perspective.
- Sequence Diagrams: Used for interaction modeling, showing the interaction between objects in a sequential order.
- Activity Diagrams: Used for behavior modeling, showing the flow of control from one activity to another.
Creating a Class Diagram
- Create a Class Diagram: In the main menu, select “Diagram” > “New” > “UML” > “Class Diagram” to create a new class diagram.
- Add Classes: Click on the “Class” icon in the toolbar and add classes to the diagram. Learn more.
- Add Attributes and Operations: Double-click on a class to open the class details window, and add attributes and operations as required.
- Create Relationships: Drag and drop one class onto another to create a relationship between them.
Creating a Use Case Diagram
- Create a Use Case Diagram: In the main menu, select “Diagram” > “New” > “UML” > “Use Case Diagram” to create a new use case diagram.
- Add Actors: Click on the “Actor” icon in the toolbar and add actors to the diagram. Learn more.
- Add Use Cases: Click on the “Use Case” icon in the toolbar and add use cases to the diagram.
- Create Relationships: Drag and drop one actor onto a use case to create a relationship between them.
Creating a Sequence Diagram
- Create a Sequence Diagram: In the main menu, select “Diagram” > “New” > “UML” > “Sequence Diagram” to create a new sequence diagram.
- Add Objects: Click on the “Object” icon in the toolbar and add objects to the diagram. Try it online.
- Add Messages: Click on the “Message” icon in the toolbar and add messages between objects to show the interaction between them.
Creating an Activity Diagram
- Create an Activity Diagram: In the main menu, select “Diagram” > “New” > “UML” > “Activity Diagram” to create a new activity diagram.
- Add Activities: Click on the “Activity” icon in the toolbar and add activities to the diagram. Try it online.
- Add Control Flows: Click on the “Control Flow” icon in the toolbar and add control flows between activities to show the flow of control.
Conclusion
Visual Paradigm is a powerful UML modeling tool that offers a wide range of UML diagrams and features. This tutorial provides a comprehensive introduction to using Visual Paradigm for UML modeling, but there is still much more to learn. To continue your journey, explore the Visual Paradigm website here and check out the documentation for more information and tutorials.

